Auto-Approving Actions
Auto-approve settings speed up your workflow by eliminating repetitive confirmation prompts, but they significantly increase security risks.
Quick Start Guide
- Click the Auto-Approve Toolbar above the chat input
- Select which actions brewdata can perform without asking permission
- Use the master toggle (leftmost checkbox) to quickly enable/disable all permissions
Auto-Approve Toolbar
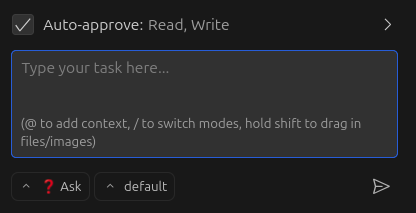
Prompt box and Auto-Approve Toolbar showing enabled permissions
Click the toolbar to expand it and configure individual permissions:
Prompt text box and Expanded toolbar with all options
Available Permissions
| Permission | What it does | Risk level |
|---|---|---|
| Read files and directories | Lets brewdata access files without asking | Medium |
| Edit files | Lets brewdata modify files without asking | High |
| Execute approved commands | Runs whitelisted terminal commands automatically | High |
| Use MCP servers | Lets brewdata use configured MCP services | Medium-High |
| Switch modes | Changes between brewdata modes automatically | Low |
| Create & complete subtasks | Manages subtasks without confirmation | Low |
| Retry failed requests | Automatically retries failed API requests | Low |
Master Toggle for Quick Control
The leftmost checkbox works as a master toggle:

Master toggle (checkbox) controls all auto-approve permissions at once
Use the master toggle when:
- Working in sensitive code (turn off)
- Doing rapid development (turn on)
- Switching between exploration and editing tasks